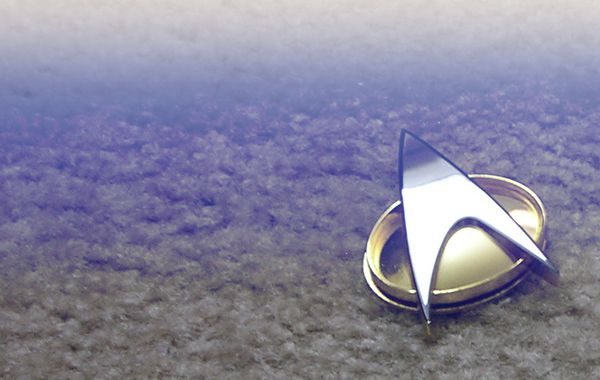
A quick costume for the Trekkie at heart. Wear it at parties, incognito, and at conventions!
It’s not an authentic Star Trek uniform, but it will do the job if you just want something simple. What you will need:
1 Redshirt – You can either recycle an old T-shirt or pick one up at the store. They run relatively cheap. I got mine for less than $10. Pick a shirt that fits the way you want to fit it (I am not a fan of the droopy, over-sized awkward angle 80s flair that’s coming back in style. A regular V-neck T-shirt worked just fine!).
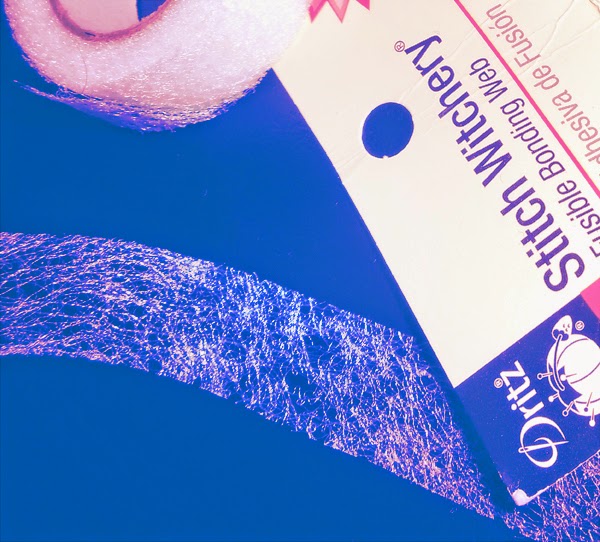
1 Stitch Witchery Roll – These run under $5, and you will have a lot leftover to use for other projects. Stitch Witchery beats hours and hours of hand sewing any day!
2 Black Strips – Considering that 80% of my wardrobe is black, I had no trouble finding an old slip to butcher for this project (I never wore it anyway). You can use anything so long as it’s black.
Minor Sewing Supplies – Pins and a needle & black thread.
Step 1
Lay out your shirt and measure the length of the front neckline. For brevity’s sake, I’ll pretend that everyone has a V-neck–You will have a happier time with a V-neck…Trying to worm a black strip around an oblong collar is not my idea of a good time.
You will also want to measure the width of the neckline as well. Multiple it by two to leave room for the underside.You want some of your black cloth to be on the underside so that you can fold it over onto the front.
Tip: Measure the length from the point of the V to the tip on each side.
Step 2
Cut out two strips of black cloth using the measurements from step 1. I wanted mine to have a little pizazz, so I used the bottom section of my slip (the part with the lace on it).
Step 3
Cut four identical strips of Stitch Witchery. These will be used to attach the collar.
Step 4
Place one strip of Stitch Witchery on the half of your black cloth that is going to be on the underside of your collar. Flatten and pin it to the underside of your collar.
Step 5
Follow the instructions on the Stitch Witchery package to iron it together.
Step 6
Repeat steps 4 and 5 three times (once more for the underside of the second strip, and twice for the front sides). When you are ready for the front, take extra care when you are folding it over and pinning it. Make it as flat as possible.
When you are about to iron the final front strip, you may have to cut a few tiny pieces of Stitch Witchery to get the fold at the tip of the V right.
Step 7
Once it cools down, make any necessary adjustments with your needle and thread. If you did a perfect job of ironing, you won’t need to venture into tedious waters like I did! I had to mend the point at the V shape.
Optional
Step 8
If you want to go the extra mile and do the back part of the neckline, repeat the above steps. The back neckline is always slightly rounded, so tread those waters at your sanity’s risk!


